Product: Gidex
How to Swap Tokens on GiDex
Swapping tokens on GiDex is one of the simplest things you can do on the platform. You pick the token you want to sell, choose what you want to receive, and GiDex takes care of the rest. It checks prices across multiple decentralized exchanges and finds the best rate for your trade automatically.
This guide walks you through the entire process step by step, from connecting your wallet to completing your first swap on BNB Smart Chain.
Step 1: Open the Swap Page
Head over to app.ginox.io in your browser. On the left sidebar, click "Gidex - Defi" to open the DeFi section. You will land on the Swap page by default. If not, click "Swap" in the bottom navigation bar.
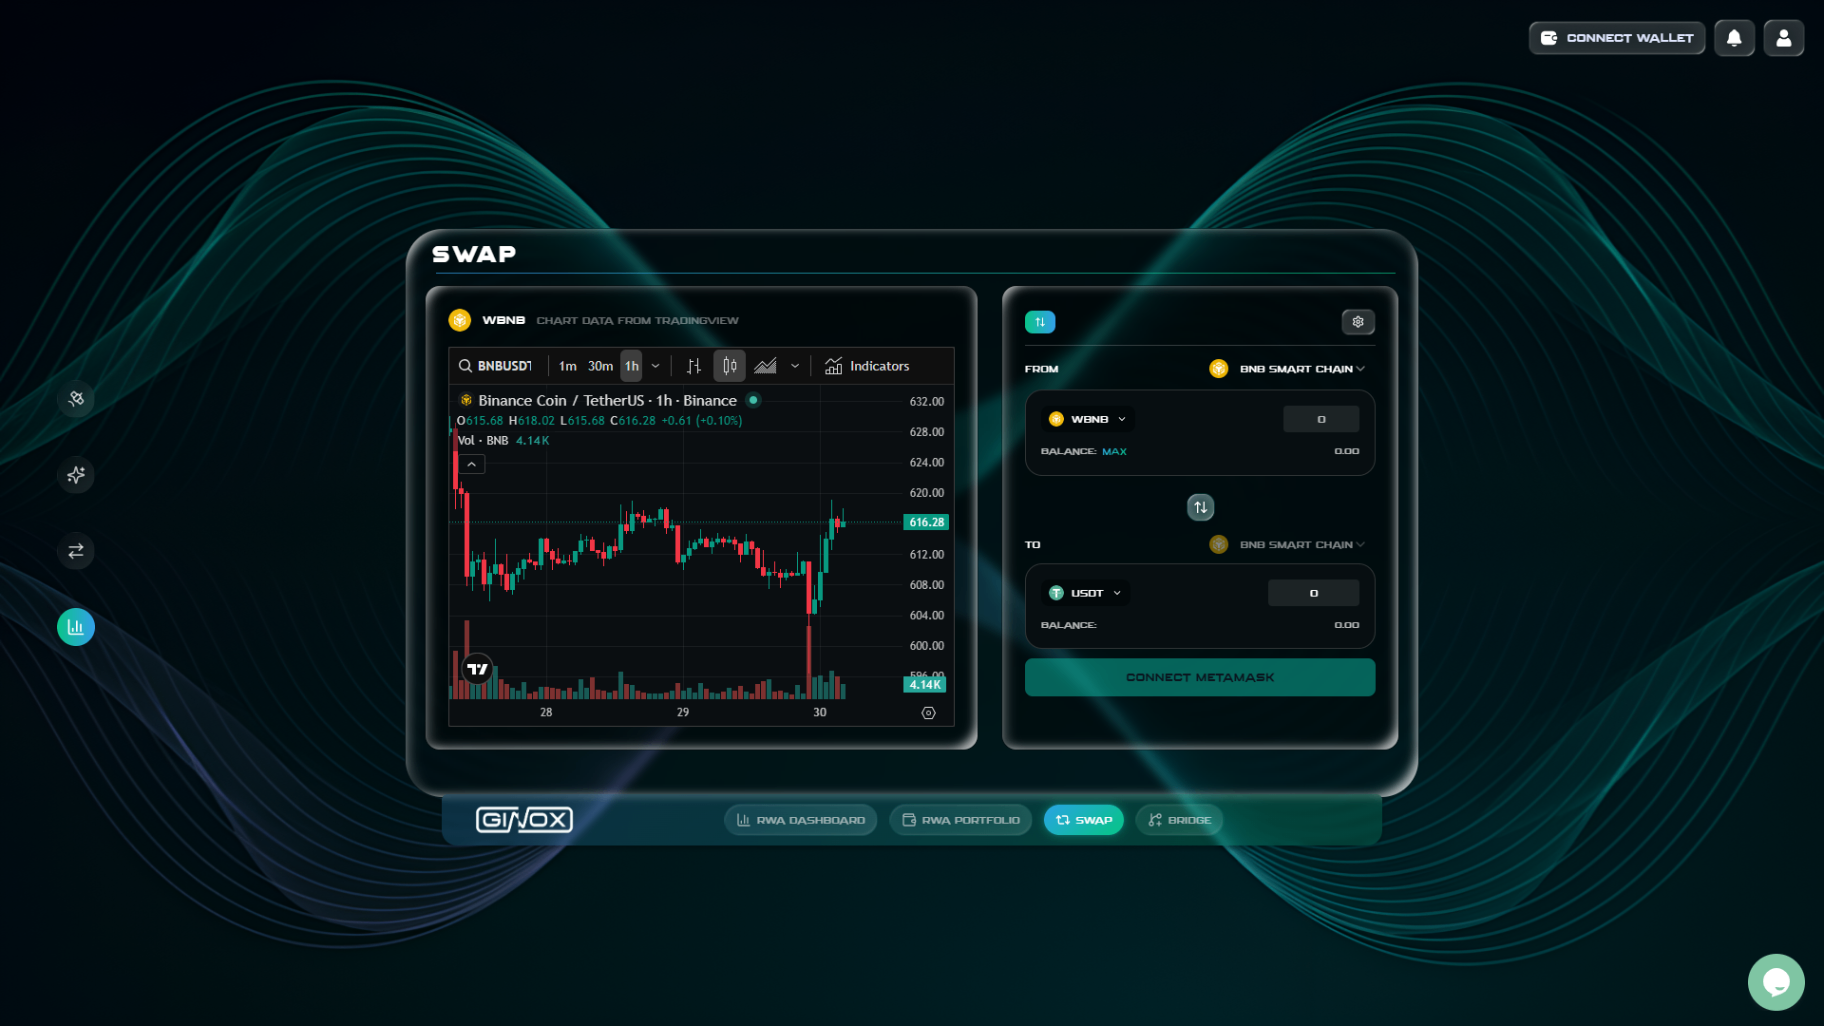
The Swap page on GiDex with WBNB and USDT selected on BNB Smart Chain.
Step 2: Connect Your Wallet
Click the "Connect Wallet" button in the top-right corner of the page. A popup will appear showing the available wallet options. Select your preferred wallet (for example, MetaMask).
Your wallet extension will open and ask you to confirm the connection. Once connected, you will also be asked to sign a message. This is how GiDex verifies your identity without needing an email or password. After signing, you are fully logged in and ready to trade.
Step 3: Select Your Chain
Click the chain dropdown next to "FROM" to see all available networks. GiDex supports Ethereum, BNB Smart Chain, Arbitrum, Optimism, Base, Avalanche, and Polygon.
For this guide, we will use BNB Smart Chain since it has lower gas fees, making it ideal for beginners. Select "BNB Smart Chain" from the list.
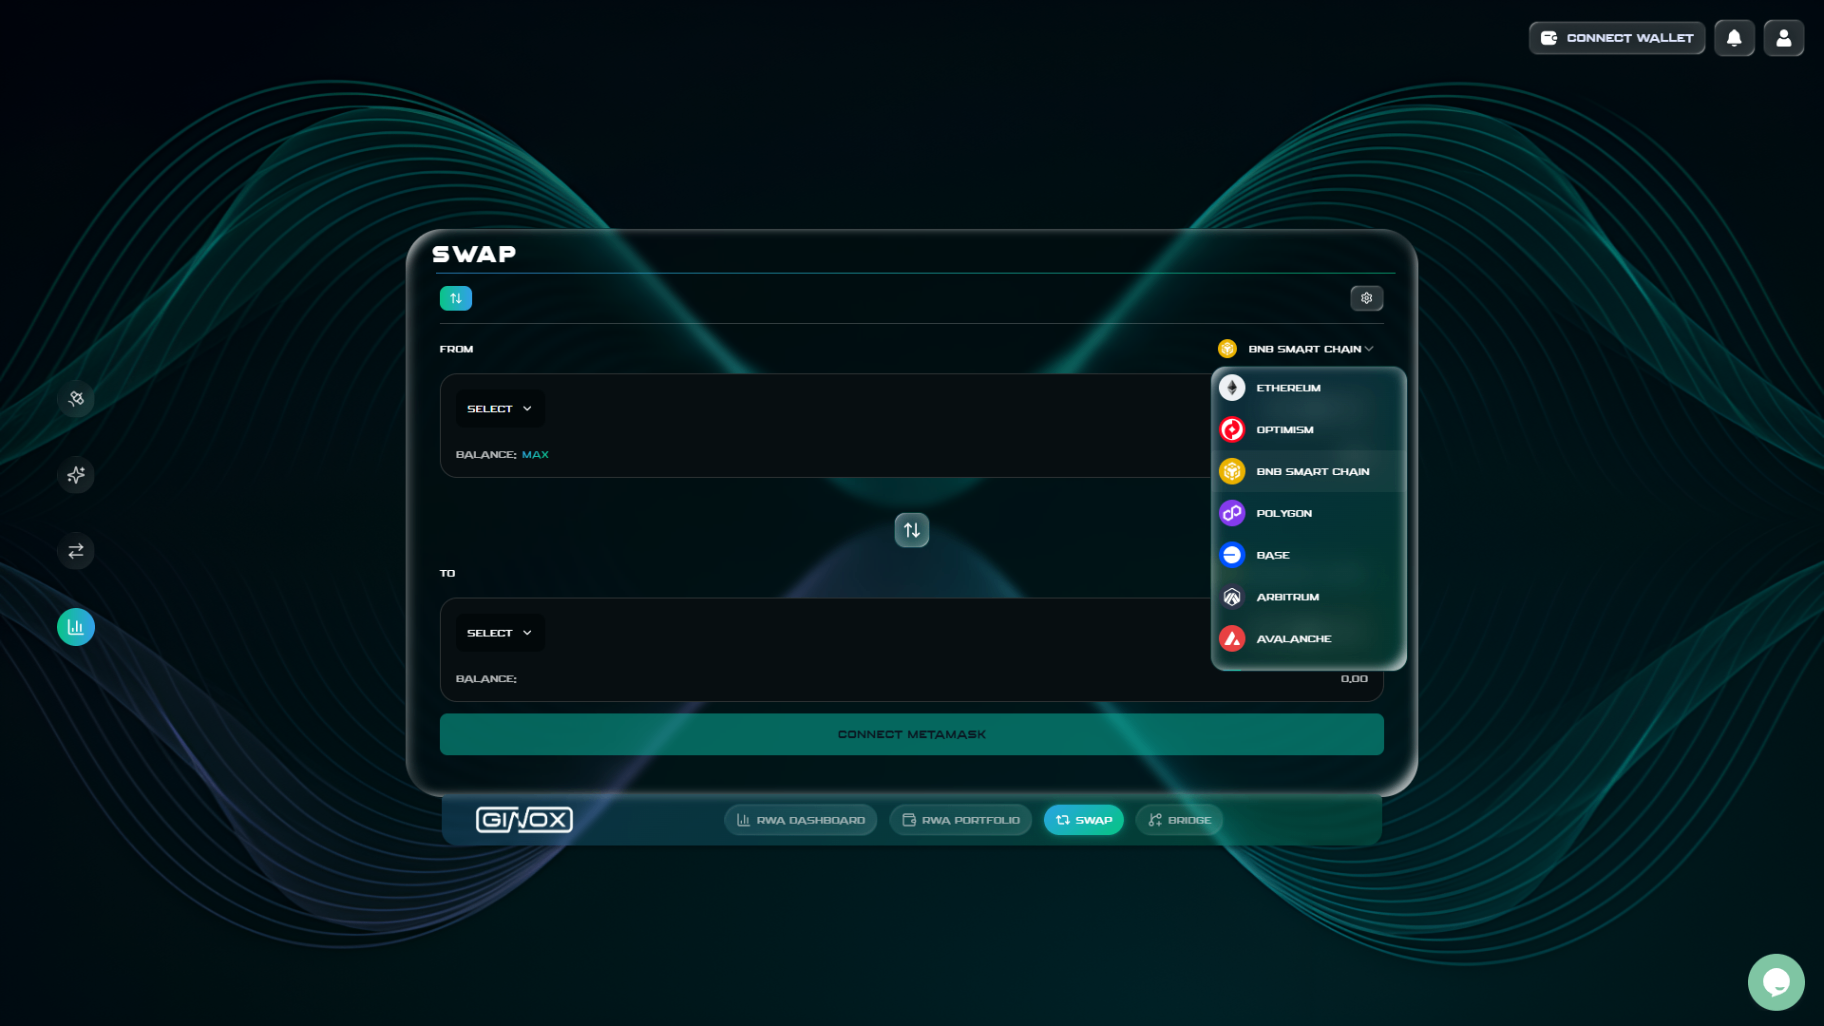
The chain selector showing all supported networks.
Step 4: Choose Your Tokens
Now you need to pick which token you want to swap from and which token you want to receive.
FROM token: Click the "Select" button under the FROM section. A token selector will open with a search bar at the top and quick-select options for popular tokens like BNB, USDT, and ETH. You can search for any token by name or ticker. For this example, search for "WBNB" and select it.
TO token: Click the "Select" button under the TO section and search for "USDT". Select Tether (USDT) from the results.
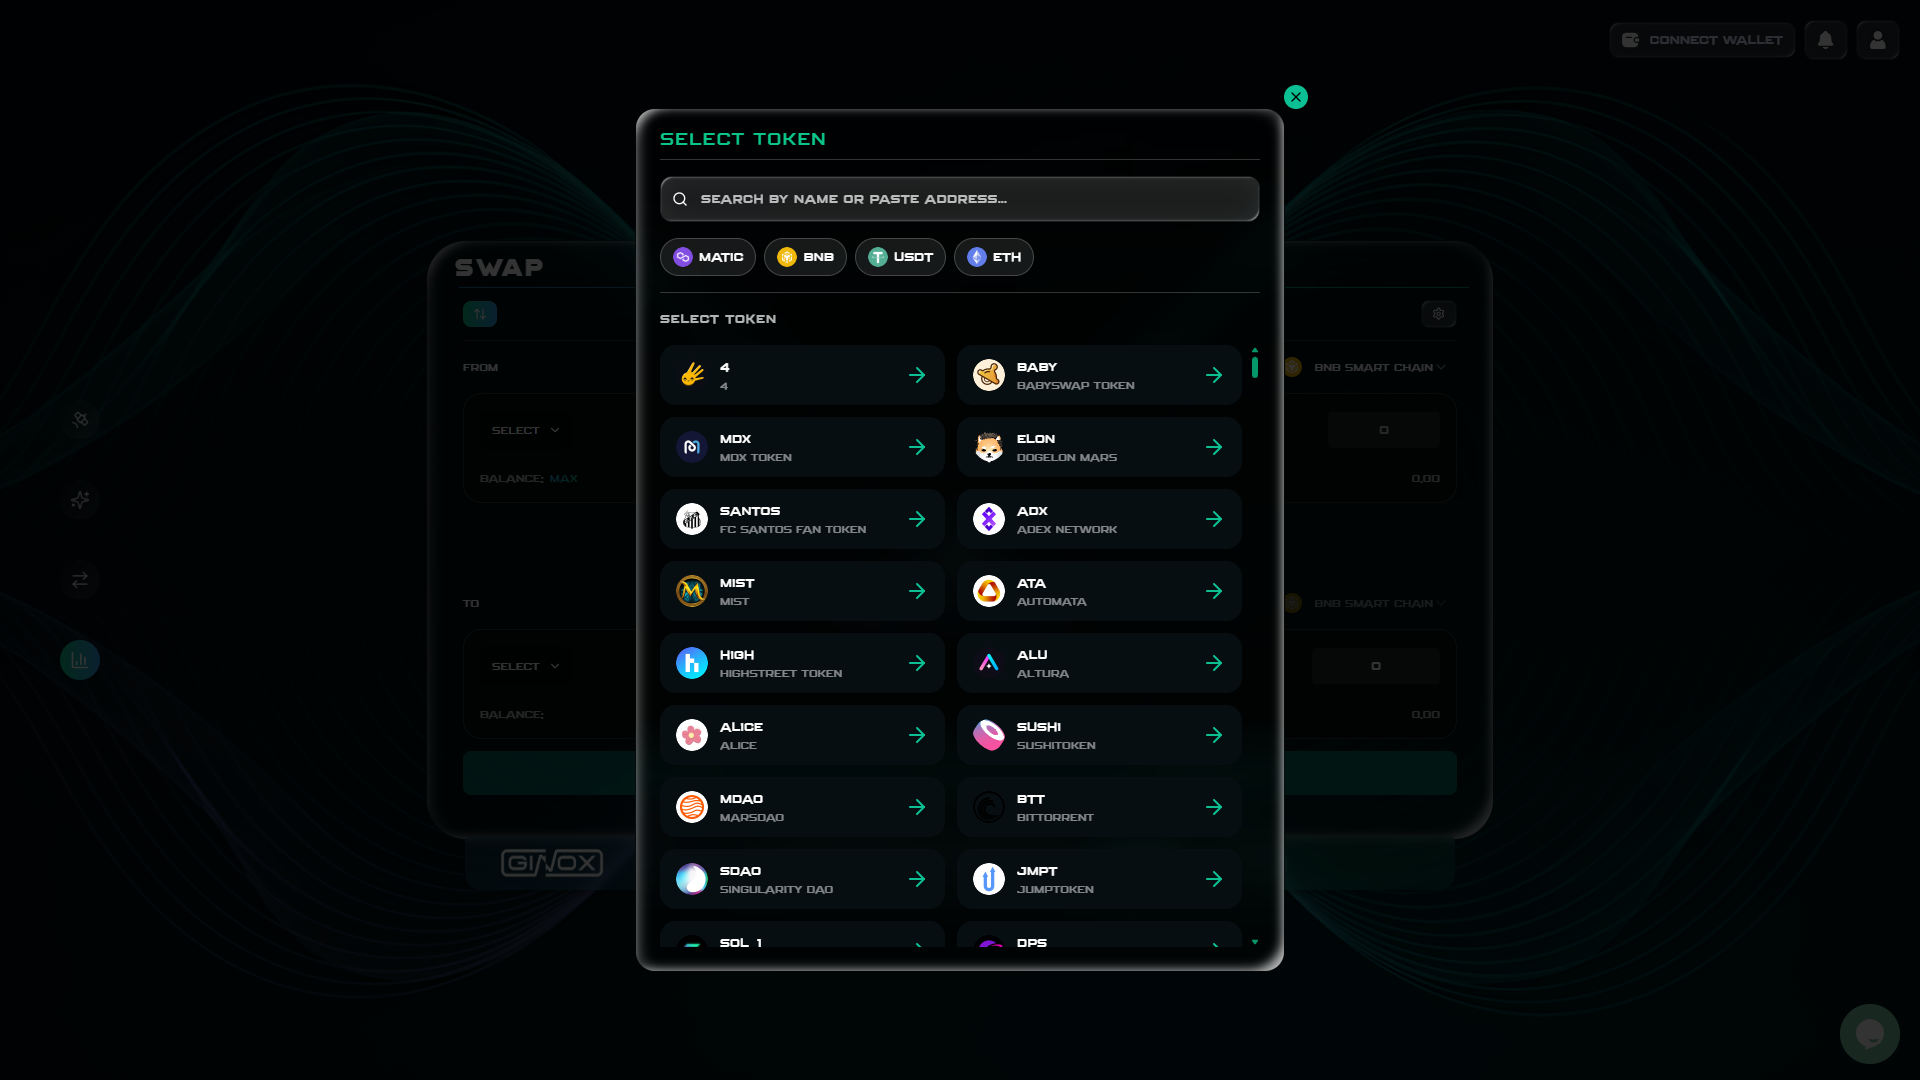
The token selector modal with search and popular token shortcuts.
Step 5: Enter the Amount
Type the amount of WBNB you want to swap in the FROM field. GiDex will automatically fetch a quote and show you how much USDT you will receive in the TO field.
Below the swap card, you will see a breakdown that includes the exchange rate, the Ginox fee, and the estimated gas fee. Take a moment to review these numbers before you proceed. If you want to swap your entire balance, click the "MAX" button next to the balance display.
Step 6: Adjust Slippage (Optional)
Click the gear icon at the top-right corner of the swap card to open the Settings panel. Here you can adjust two things:
Slippage Tolerance: This is the maximum price change you are willing to accept between the time you submit the swap and when it actually executes. The default options are 0.5%, 1%, and 2%. You can also type in a custom value. For most swaps, 1% works well. If you are swapping a low-liquidity token, you may need to increase it.
Transaction Deadline: This sets how long your swap request stays valid. The default is 30 minutes. If the swap is not executed within this time, it will be cancelled automatically.
Click "Save" when you are done.
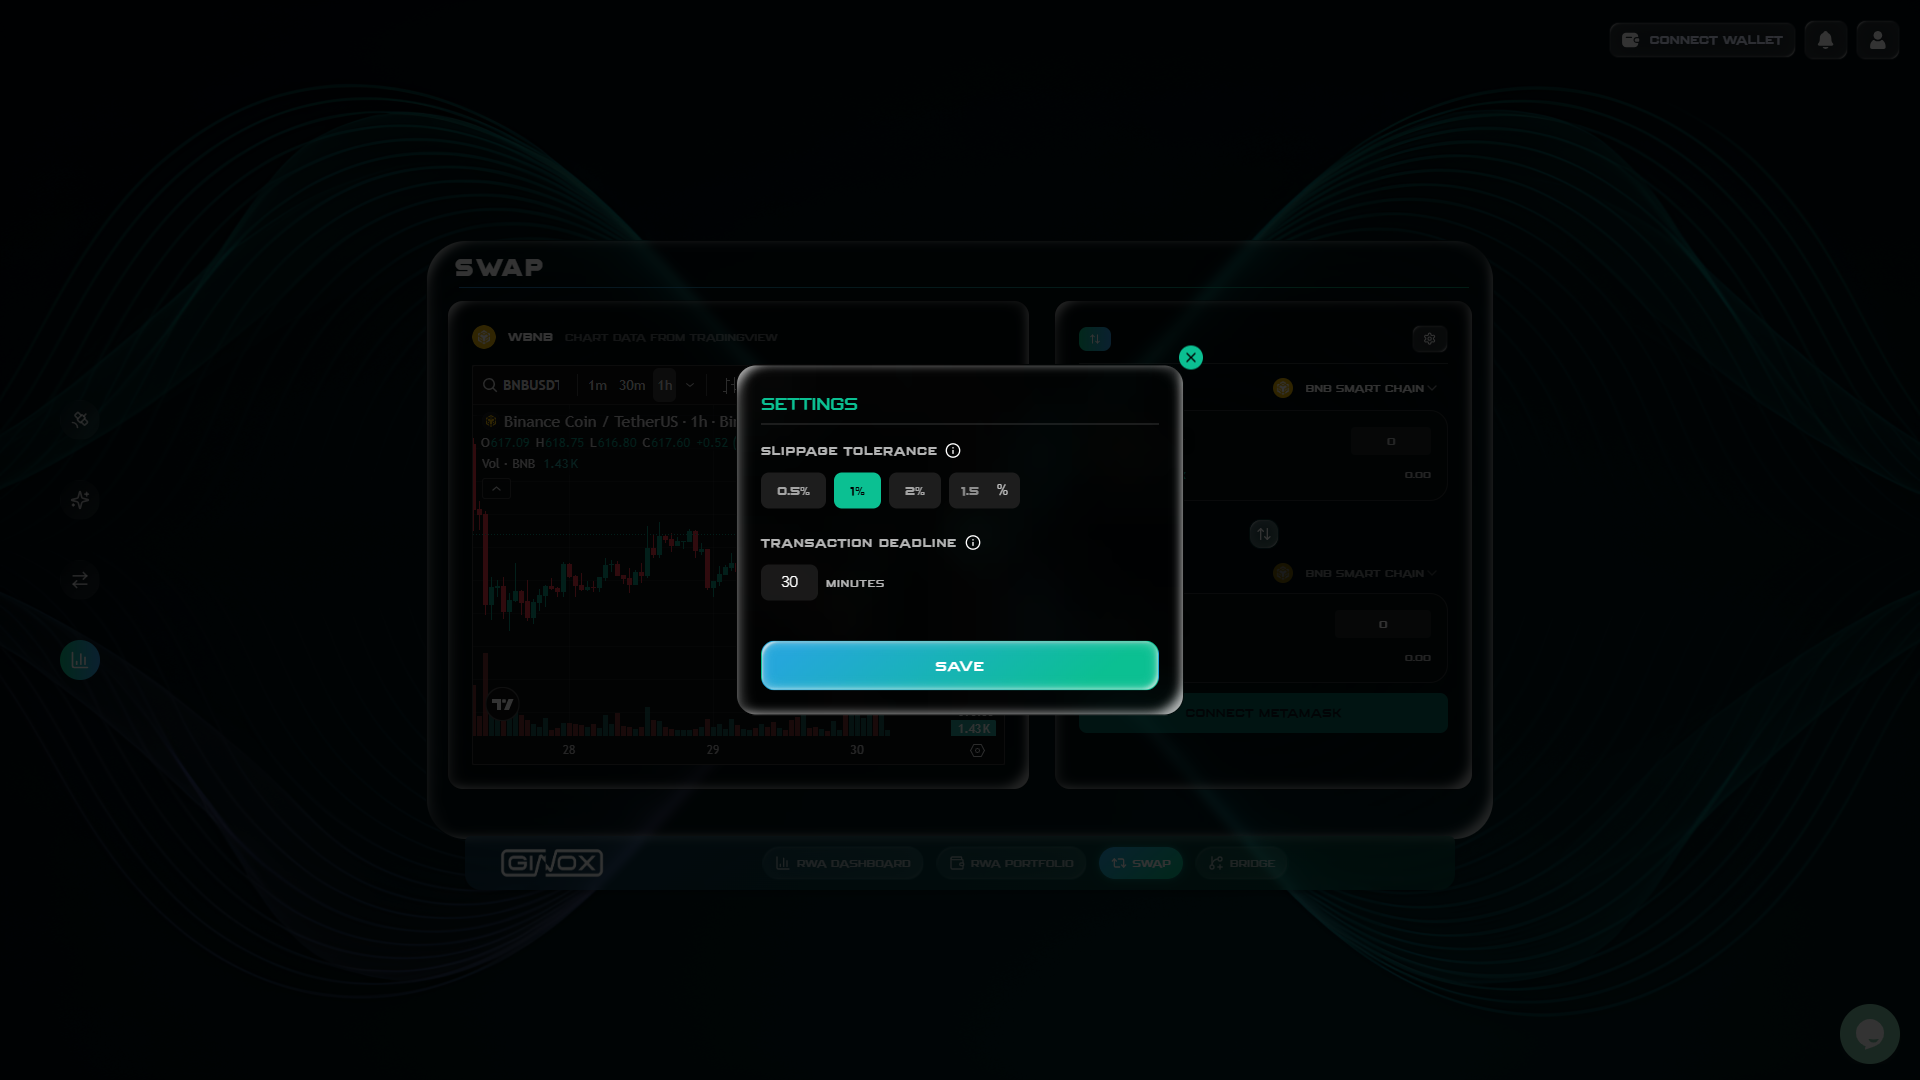
Settings panel with slippage tolerance and transaction deadline options.
Step 7: Approve and Swap
If you are swapping an ERC-20 token (like USDT or any non-native token), you will first need to approve the token. This is a standard step on all decentralized exchanges. It gives the swap contract permission to use the specific token from your wallet.
Click the "Approve" button. Your wallet will open and ask you to confirm the approval transaction. Once approved, the button will change to "Swap".
Click "Swap" to execute your trade. Your wallet will open one more time to confirm the transaction. After you confirm, the swap will process on the blockchain. Once complete, your new tokens will appear in your wallet.
If you are swapping a native token like BNB (or ETH on Ethereum), the approval step is skipped and you go straight to the swap confirmation.
Frequently Asked Questions
What is slippage?
Slippage is the difference between the price you see when you submit a swap and the price you actually get when it executes. Crypto prices move fast, so a small amount of slippage is normal. Setting a slippage tolerance (like 1%) means your swap will fail if the price moves more than that, protecting you from unexpectedly bad rates.
Why do I need to approve a token before swapping?
ERC-20 tokens require a one-time approval before a smart contract can use them. This is a security feature built into the token standard. You only need to approve each token once per contract. After that, future swaps with the same token will skip this step.
What if my swap fails?
Swaps can fail for a few reasons: slippage too low (the price moved beyond your tolerance), not enough gas in your wallet, or network congestion. If your swap fails, try increasing your slippage tolerance or waiting a few minutes and trying again. You will only be charged a small gas fee for the failed transaction.
Why are gas fees high?
Gas fees depend on the network you are using. Ethereum tends to have higher fees, while BNB Smart Chain, Arbitrum, and Polygon are much cheaper. If gas fees are a concern, consider switching to a lower-cost chain for your swaps.
Can I swap any token?
GiDex supports a wide range of popular tokens on each supported chain. You can search for any available token by name or ticker symbol in the token selector.